How do I create a location? How do I manage a location?
Create and manage locations - in this article you will be given an overview of the section "locations" and it's functions.
Firstly, let's clarify what "locations" are. These should not be confused with "departments" which are areas of work within one location. "Locations" are different branches in different areas.
If you would like to add a new location, please follow the steps below:
- Click on "locations" in the top left corner and then select "Create new location" (the settings in locations can be changed at any given time)
- Continue by adding your "base data" for this location
- Then secondly you will configure the "permissions" for this location and this will determine the following:
- Employees can apply for shifts
- Allow double assignments
- Employees assign themselves into shifts (and until when)
- Employees can remove themselves from shifts (and deadline for removal)
- You will continue with the "visibility settings":
- Determining who (all, managers and admins, only admins) can see the Employee tab & absence user list
- Determining whether employees can view assignments
- Determining employees can view applications
- Show special days to all users
- Show visible absences to schedulers (Admin, Manager)
- Notes visible
- Then you will determine the "Schedule settings", which determine the following:
- Which week days will be shown in the schedule, eg. Mon.-FR. or Mon.-Sun.
- Default times for shifts
- Displayed minutes (time slots in calendar view)
- Finally you will determine the "settings":
- Should the week start on Sunday or Monday in the schedules
- Should the first name or surname be shown (how to address)
- At what hour the day starts
- At what hour the day ends
Throughout the setup, you will see this icon ![]() and if you hover of this, it will give you a hint about the setting you are about to determine.
and if you hover of this, it will give you a hint about the setting you are about to determine.
You would like to change an existing location? Add and employee or change the name?
After you successfully created a new location, it is important to first add departments as well as employees. For this, follow the steps below:
- Firstly you want to create a new "department" in the new locations, e.g Kitchen, Bar, Service
- For this click on "departments" in the location you just created or which you want to edit
- Then in the left hand corner click on "add department"
- You can now name the department and choose a colour for this specific department
- Now you can add specific employees to this department, by clicking on the + icon next to their name. Once all relevant employees are selected, you just close the window, top right.
Note that employees without a department will not be visible in the schedule and thus you will not be able to add them to specific shifts.
Once the department is created and your relevant employees have been added, you will see additional actions in the overview of the locations, which are:
- Delete locations
- Edit location
- Edit employees
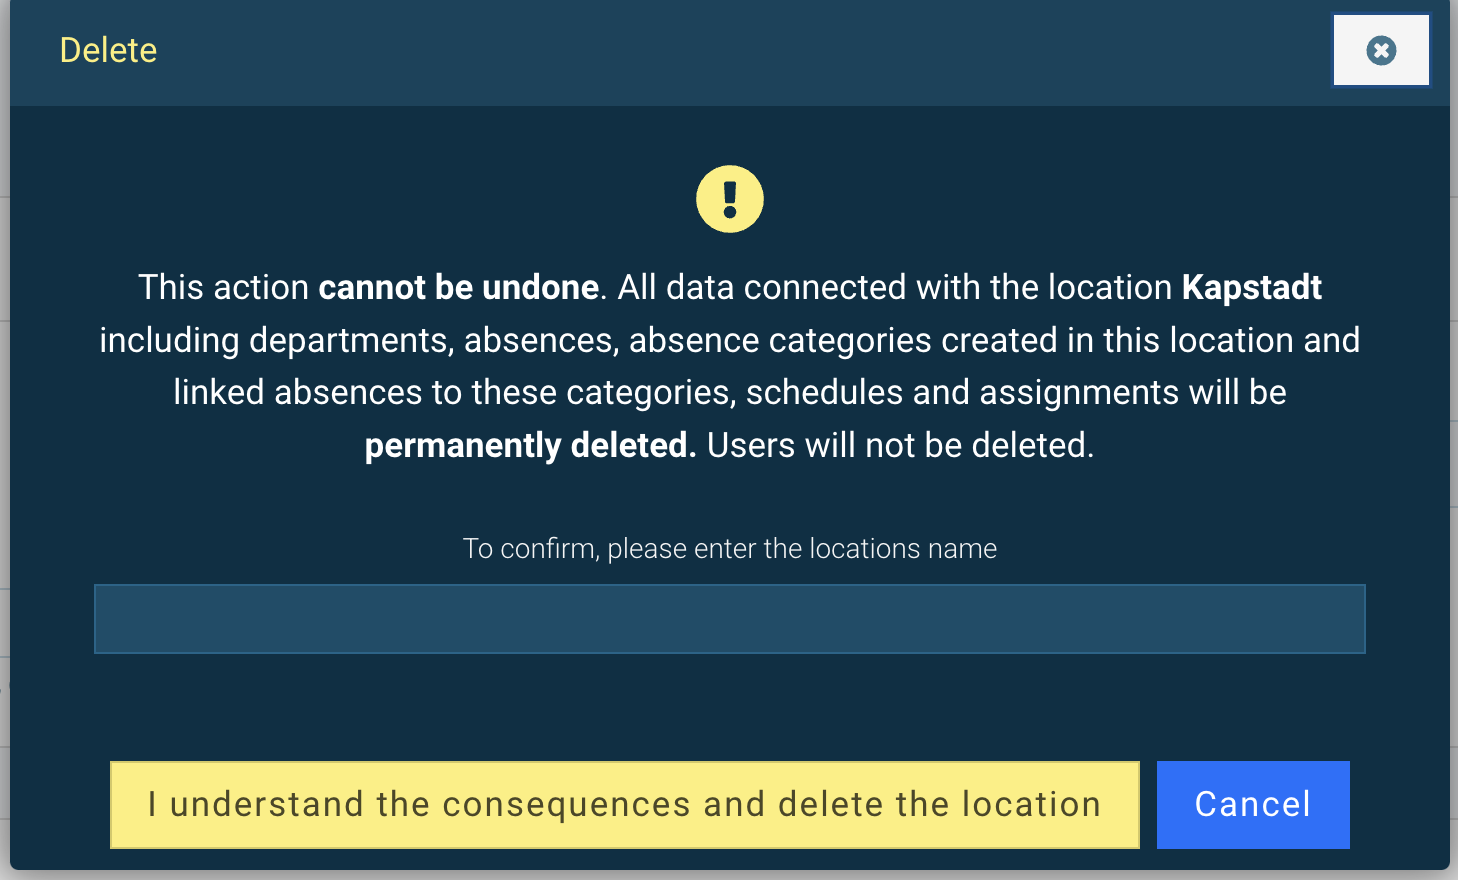
Very Important: if you choose to delete a location you will receive the error message below. As all data will irrevocable be deleted, we strongly suggest only doing so, after all data in this locations has been exported.

If you'd like to create an absence category for all locations, we suggest you create a new location, which is exclusively used for all locations absence category. You could name this for example: absence categories for all locations.
Why: if you delete a location, all absence categories, as well as past/future absences that were created in this location, will be deleted with this location.